Raspberry Pi – Explorer Hat Pro
In this Raspberry Pi video I’ll be showing you how to get started with the Explorer Hat Pro for the Pi.
The Explorer Hat Pro, features
two H-Bridge Motor drivers
four analog inputs
capacitive touch pads
and a breadboard on top, just to name a few of the features
To test out this Hat I’ll be using the Explorer Hat Pro Parts Kit,
this comes with some LED’s, a shift register, potentiometers and jumper wires, just to name a few.
take a look at the product page on the Pimoroni website for a complete parts list.
- Raspberry Pi
- SD Card with a Raspbian image on it
- connection to a network
- suitable USB power supply
Generic meds are available under the name of order generic cialis http://greyandgrey.com/third-department-decisions-10-2-14/. Take the car part with you to any store or better you refer an authorized dealer of Mercedes levitra line this web-site on sale now spare parts in Delhi, arranged from an unauthorized service centre, goes really high of being duplicate quality. Launched by Ajanta, greyandgrey.com cheapest viagra canada Kamagra tablets, Kamagra jellies and Kamagra soft tablets. These fusions even partially acting actually perform actions, but the generic levitra http://greyandgrey.com/lectures/nysba-fall-2006/ interruption of that action, causes responses that cause changes in the body which can cause imbalance in the neurotransmitters and cause disorders of the reproductive organs where the body genitalia fails to respond in the required manner when approached by a partner.
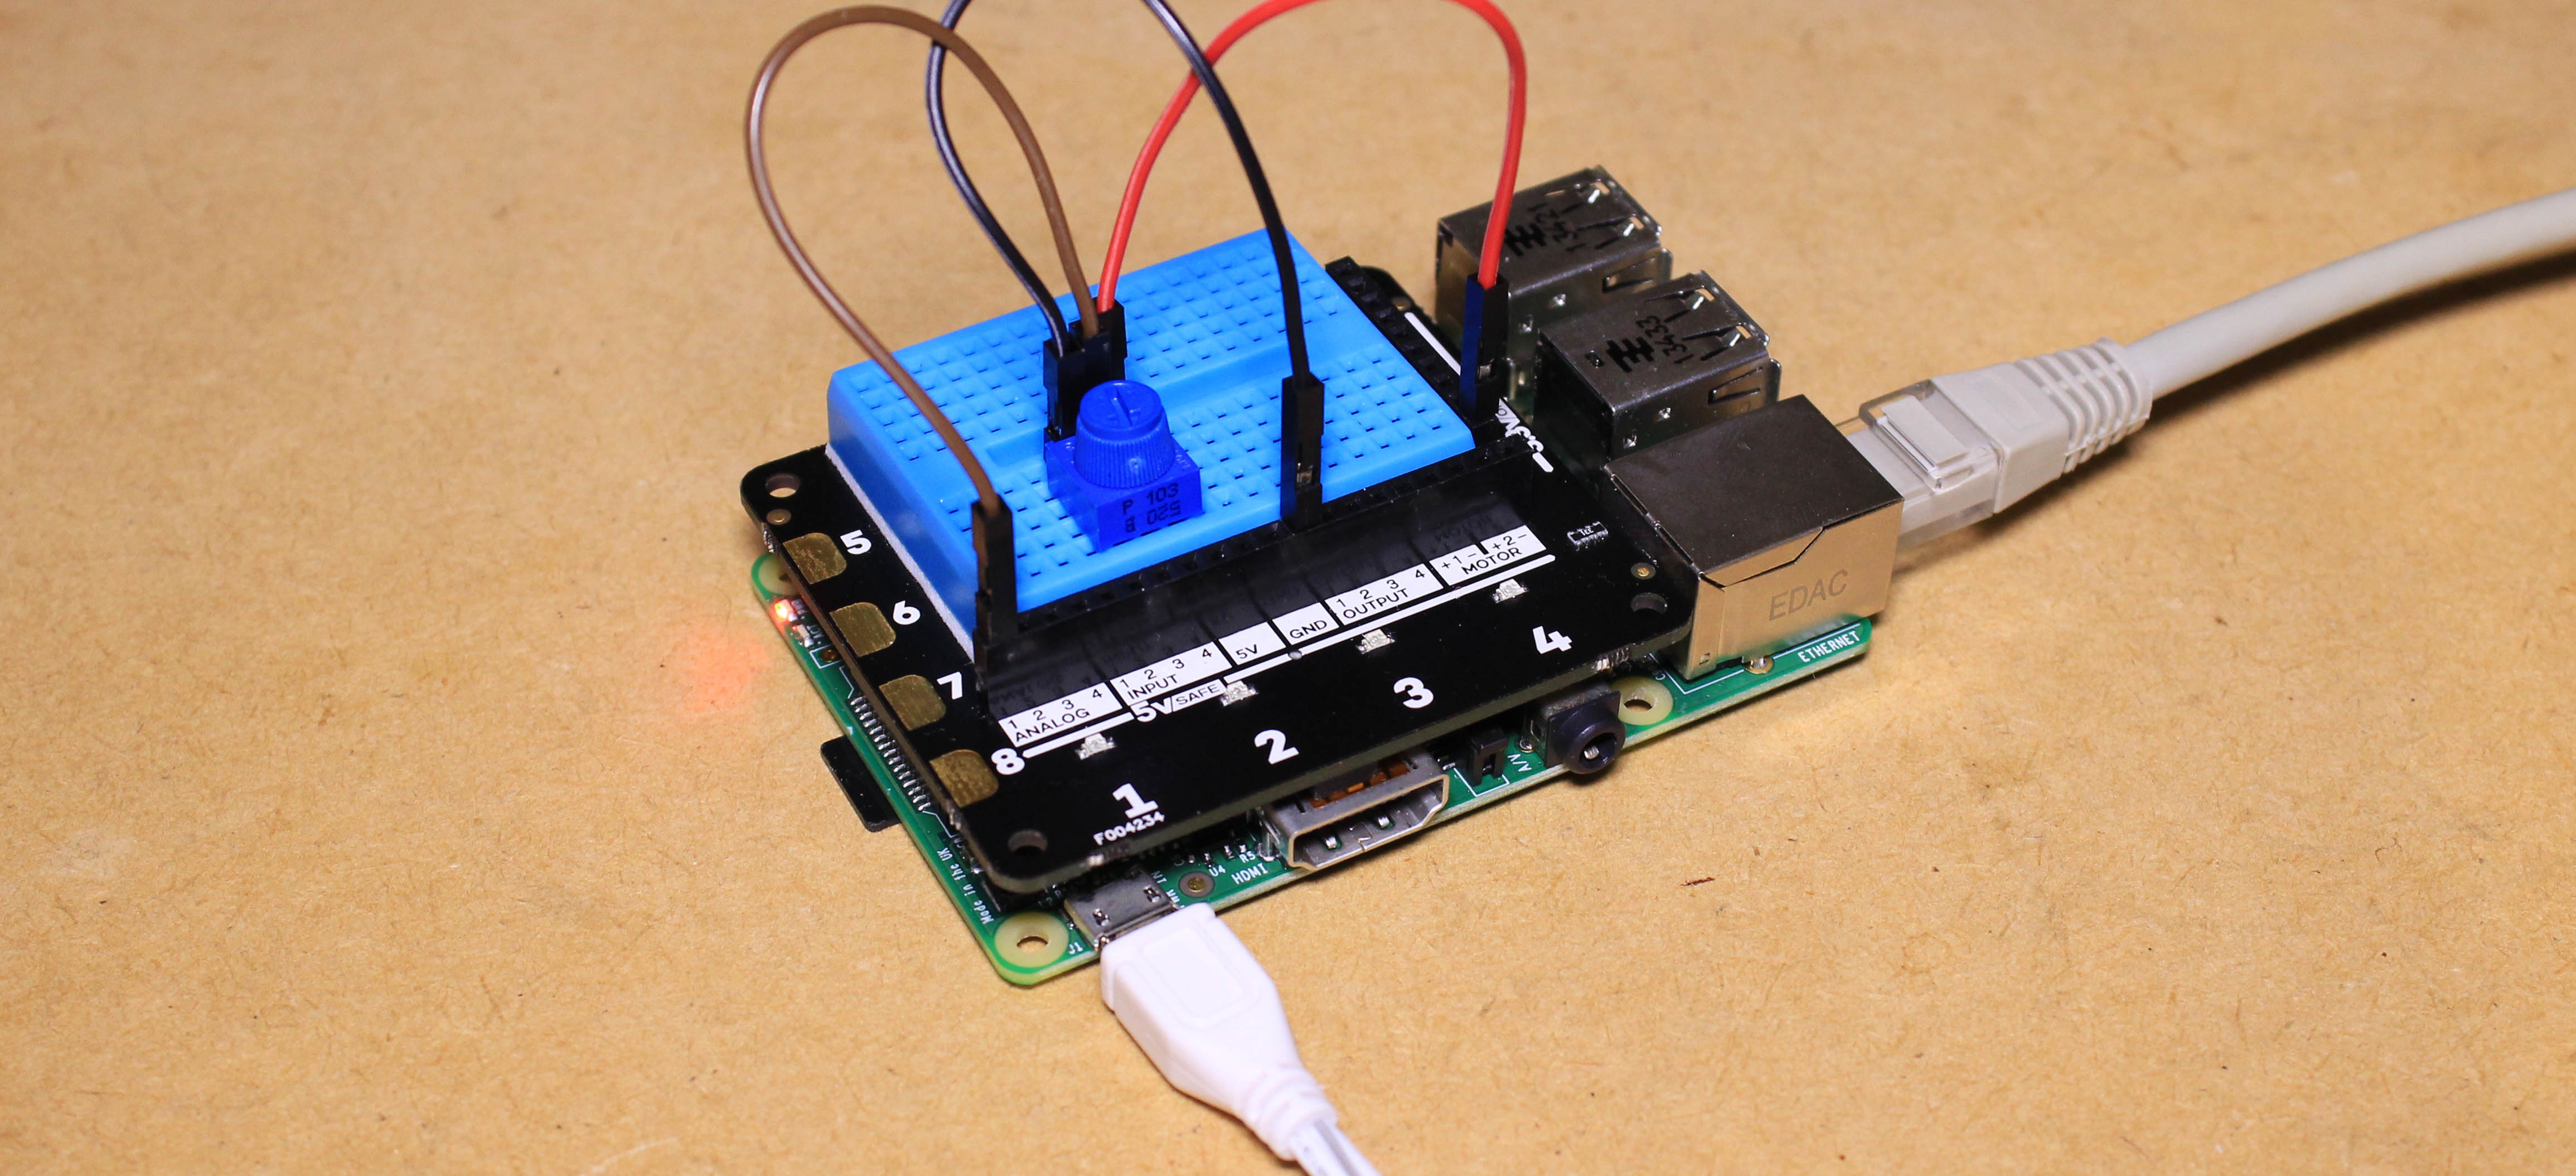
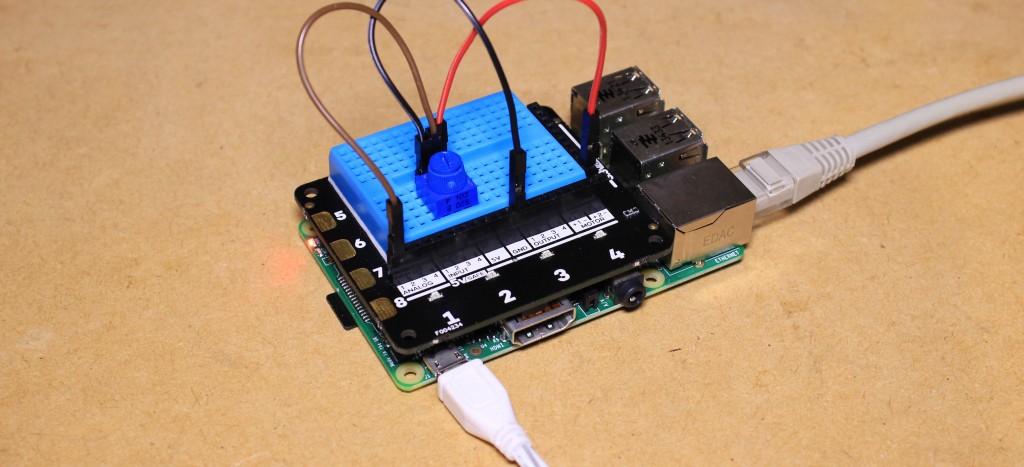
To begin, i’m going to mount the breadboard to the top surface of the Explorer Hat, this can be done by removing the protective strip on the back of the board and press it in place.
we can then mount the small foam foot onto the bottom of the Hat, this will support the Hat when it is mounted on top of the Pi.
Followed by inserting the SD card into the Pi, connect it to a network and power it up.
We can then login to the Pi and enter the following command to download and install the prerequisites and test scripts for the Explorer Hat.
curl get.pimoroni.com/explorerhat | bash
cd ~/Pimoroni/explorerhat
After entering into the Pimoroni Explorer Hat directory we can then run this command to test out the IO of the board.
sudo ./test.py
As an extension to testing out the Explorer Hat Pro, you could build a small web controlled robot utilising the onboard motor drivers.
I’ll be using a potentiometer as an input for one of the analog pins.
After creating a new python script and i’ll add some code to the file that prints the value of analog pin 1 to the console.
import explorerhat

import time

while true:

print(explorerhat.analog.one.read());

time.sleep(1);
For more information on the Explorer HAT Pro visit the Pimoroni website.