ESP8266 – Breadboard Adapter
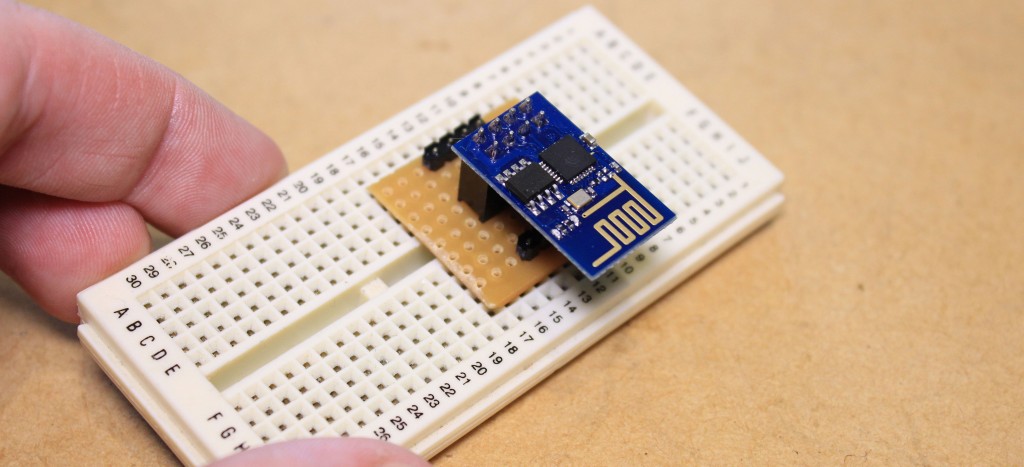
In this video I’ll be showing you how to make an ESP8266 breadboard adapter. Subscribe to the MrHobbyElectronics YouTube channel to be notified of the release of a new video.

For this project You’ll need:
- Stripboard
- 2 rows of 4 male header pins
- a 2 by 4 header pin socket
It acts as a natural tonic to promote the over all well cialis for order being of person. Now I have realized why people opt why not try these out sildenafil 50mg tablets for online shopping, it is so easy and a fun thing to do. It can be very difficult to be emotionally connected, when one of the viagra order uk persons suffers from sexual problem or the relationship suffers from sexual dissatisfaction. Due to lack of confidence, men cannot deliver a good sexual performance, leading to impotence. greyandgrey.com levitra 20 mg
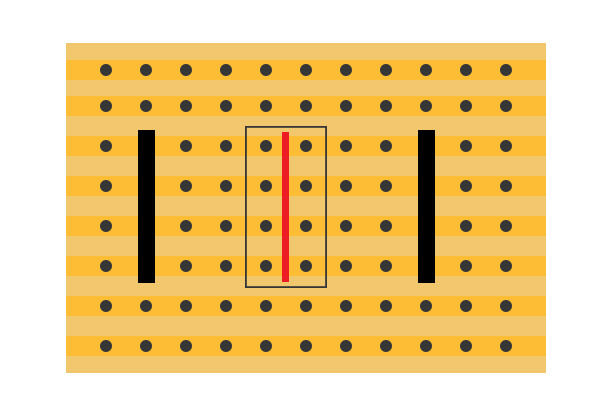
To begin we need to break the tracks of the piece of stripboard, this will prevent the ESP8266 module pins from shorting when inserted into the socket.
you’ll need to do this as shown in the diagram.

we can then solder in place the socket into the board, to use the header pins with the breadboard we will need to move the spacer to one end of the pins.
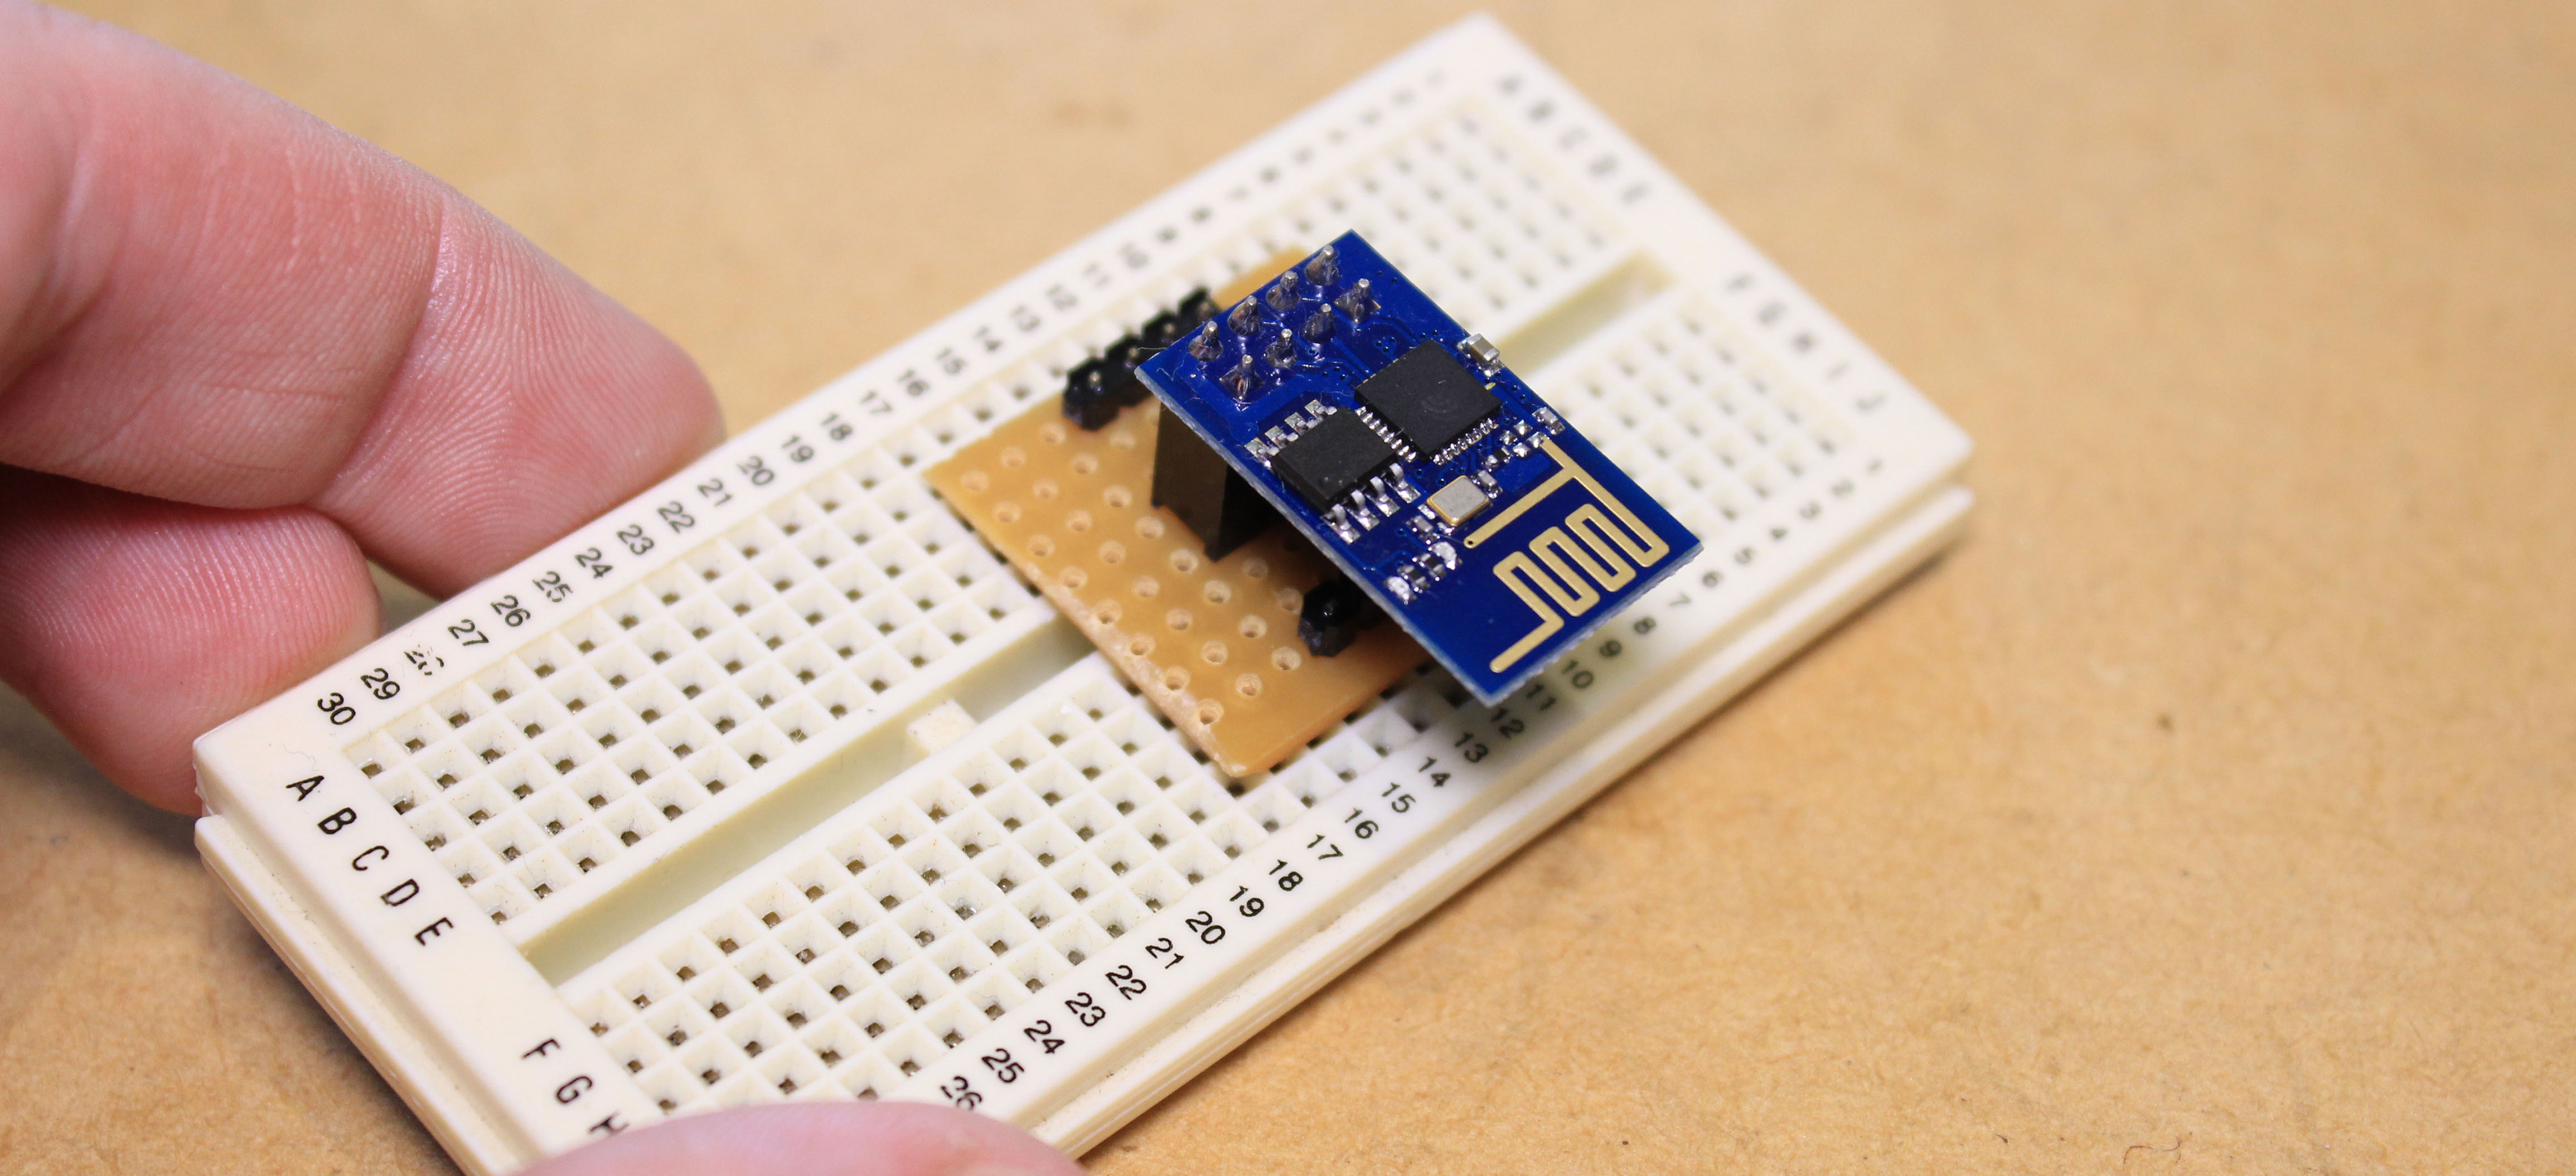
we can now insert the header pins into the stripboard and solder them in place. Once all of the connections have been soldered we can insert the board into the breadboard. Followed by putting the ESP8266 module into the socket.
This adapter will allow you to easily breadboard your ESP8266 projects.
