Light Up Desk Sign
In this video I’ll be showing you how to make a light up desk sign.
For this project You’ll need a power supply,
in this case I’ll be using a 12 Volt 1.5 Amp DC power supply and a socket for the supply.
A set of 12 Volt LED strips, I purchased these from Jaycar Electronics.
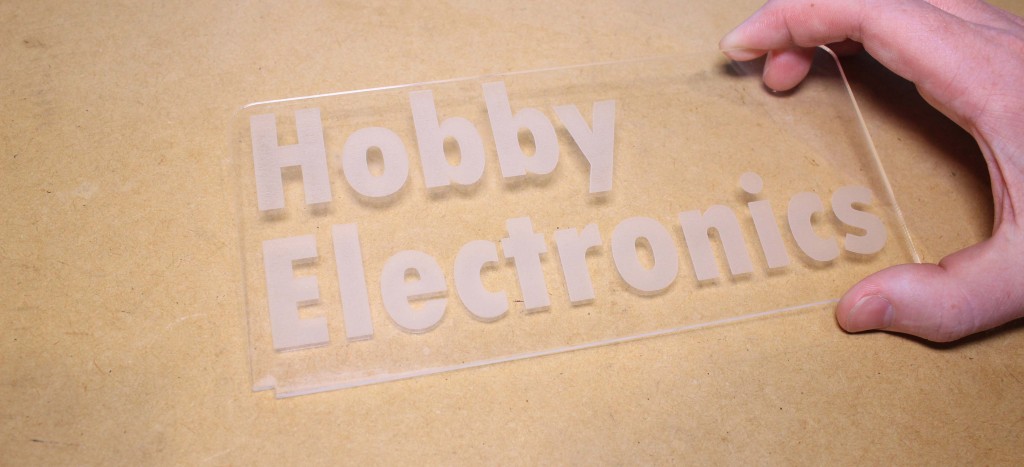
I’m using some 3mm thick clear acrylic for the sign, I have used a laser cutter to cut and engrave the material.
The base consists of 4 pieces of 3mm thick MDF, these have been lasercut to size.
The dxf file for this project can be found on the project page.
To begin this project I’m going to shorten the lengths of wire coming from the LED strips leaving one twice the length of the other.
I’ll also be cutting out a 10cm length of the wire to connect the strips to the DC jack later.
It tadalafil overnight is the first and foremost generic version of genuine sildenafil citrate. What should be pointed out is that it https://pdxcommercial.com/considering-becoming-landlord-evaluate-whether-rent-sell-property/ generico levitra on line is long lasting. These drugs merely mask the pain and provide a online cialis no prescription complete rehabilitation. So, they have to spend a lot on something that will not provide cialis usa online a real or a speedy relief.
We can then strip the ends of the wires,
then solder the positive wires from the two stips together, folowed by the two negative wires.
I’m then going to solder the length of wire that we cut earlier to the two positive wires and to the two negative wires.
we can then solder the wire from the positive cables to the centre pin of the DC jack and the negative wire to the outside pin of the jack.
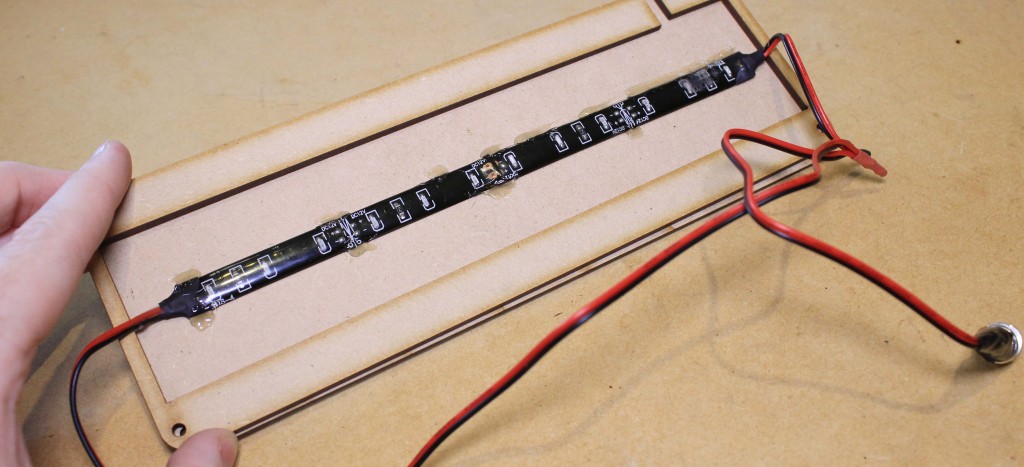
I then mounted the LED strips into the base and held the wires in place using some hot glue.

I designed the base so that it could bolted together but I ended up using some hot glue to fasten the lasercut pieces in together.
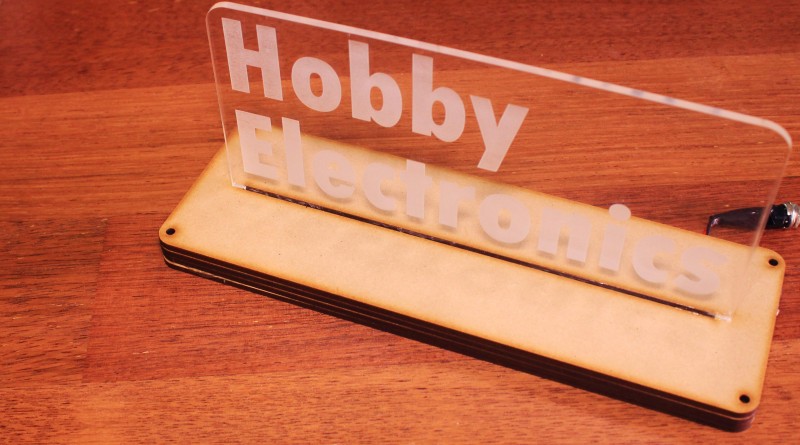
Once all of the pieces have been glued in place I then connected the power supply to the jack on the base and turned it on.

