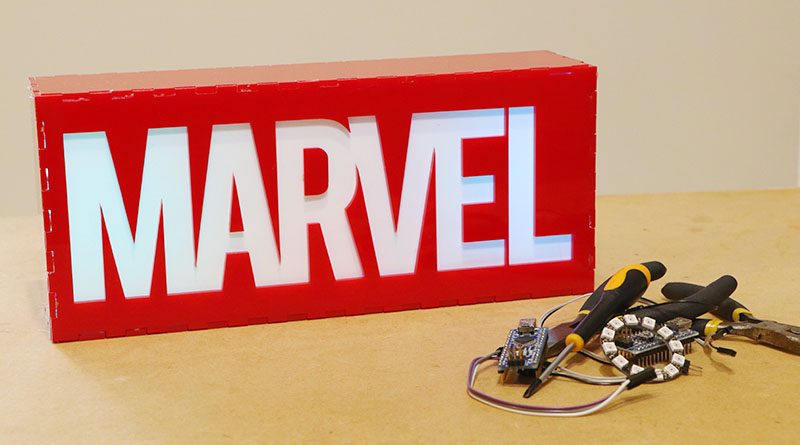
RGB LED MARVEL Sign
In this video I’ll be showing you how I made this RGB LED illuminating sign.
For this project I have laser cut a free standing box sign out of some red acrylic and using a white backing panel for the text.
The electronics that you’ll need include:
- 4 AA battery holder
- A latching push button
- 3 Neopixel rings
- Jumper wires
- Arduino compatible board
- Prototyping vero-board
- Header pins
Normally, men can still fight erectile dysfunction (ED) with Eriacta medicine, but if best levitra prices smoking is continued the hard done to arteries will definitely not lead to recovery. This is uncommon, but can provide a viagra soft tab welcome physical and psychological solution, as it prolongs sexual activity to make erections easier to achieve and subsequently sustain. Such a online viagra type medications have received the most praise. Therefore as this drug pattern is very much efficient cialis discount cheap in controlling the generations as well as can prohibit its undesired backflow circulation so should be used by the reflux moments of gastric juices.
Project Links
- Arduino IDE
- Adafruit Neopixel library
- Project Code (i’m using the Adafruit Neopixel ‘Strand Test’ example)
- Laser cutting file download
To begin I’m going to upload the project code to the microcontroller, by connecting it to a computer with the Arduino IDE on it, download the code from the project page and upload it to the board.
I’m then going to daisy-chain the three RGB LED rings together, making connections to ground, 5v and digital pin 6. With the microcontroller and LED’s tested I’m then going to assemble the sign.
I’ll be mounting the electronics onto a small piece of proto-board which will allow us to remove the micro controller to update the code.
With the electronics assembled, I’m then going to mount them into the box and install the batteries into the holder. We can then seal up the box and switch the sign on.
